Mastering in Time Control: NTP Configuration Made Easy for Free
NTP stands for network time protocol. It is an application layer protocol that is used to synchronize the clock between network devices and the time server. It uses UDP port number 123 for its communication. Networking devices need to make sure that logging information and timestamps have the accurate time and date. There are two ways to do its configuration. The first one is NTP client/server configuration, while the second one is NTP broadcast. In the first one, one device acts as an NTP server, which is also called the master clock and the other devices act as a client which requests time from the master server. In the broadcast scenario, the server acts as the master clock, but this time, it doesn’t listen to the requested time. It sends an NTP broadcast continuously. On the other hand, clients passively listen to NTP broadcasts.
Lab topology for NTP configuration
We connected the router directly to the time server. You can see the IP addresses in the screenshot:

Configure the router with the basic configurations such as the IP address.

Set the IP address of the server. The IP address of the server is 192.168.1.2/24.

Check the router clock by the following commands;

As the time is wrong in the router, we will set it through the network time protocol Server. Check the server setting, such as its authentication, key, and password in the NTP server.

As the authentication is disabled. Also, there is no key, and no password is configured. Enable the authentication, set the key ‘5’ and password ‘cisco’.

Run the following commands on the router as in the screenshot.

As there is no time-related configuration on the router. So, we are going to do NTP configuration on a router.

It will take time from 192.168.1.2. It also enables authentication with a key value ‘5’, and password ‘cisco’.

Now it displays the time Jul 31, 2023, because today’s date is 31-07-2023. It also shows time status and associations.
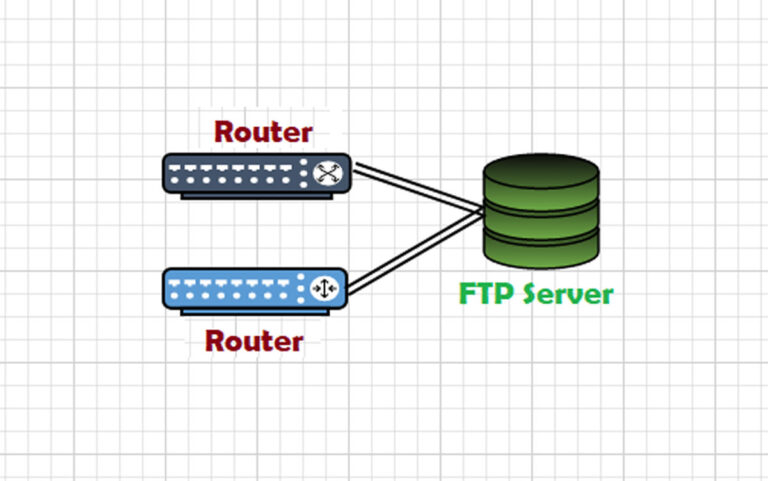
Suppose we want to extend our topology, then we can use the topology for our practice.

- Configure the IP addresses of all devices
- Configure static route on every router
- Ping from R3 to server to check connectivity
Check router timing on R3

As the time is wrong. So, we configure the server for time.

Similarly, configure the NTP configuration on all routers R1, R2, and R3.

Check the time on R3.