How to configure a cisco router with a console cable
We use a console cable for the configuration of a Cisco router or switch. It is a copper rollover cable that connects the PC directly to the router or switches for configuration purposes. Normally the length of a console cable is 1 to 2 meters. We connect it to the PC through the COM1 or COM2 Port. But now, we connect it to the PC USB port, using a converter in the middle, which is called RS232 to USB converter.
So here are the following steps to configure a router or switch through a console cable.
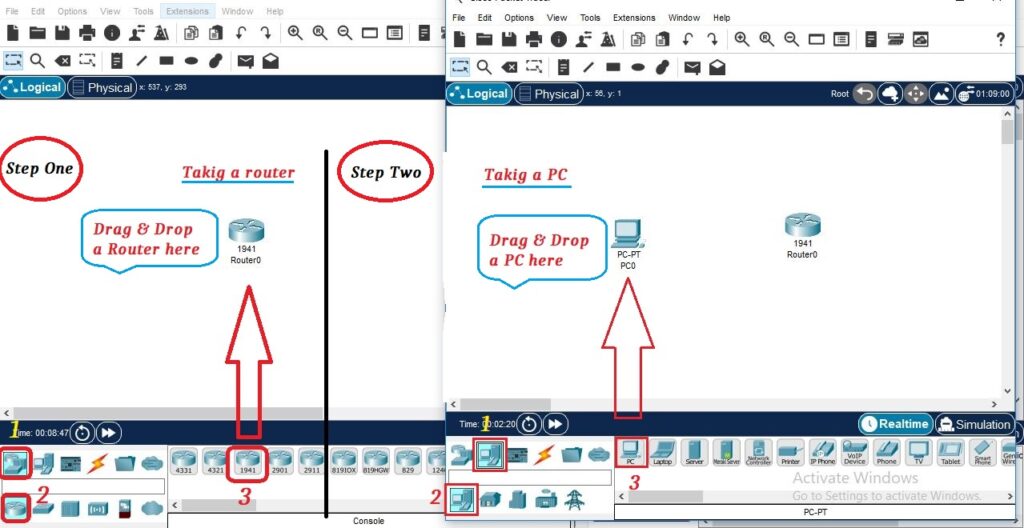
Open the Packet Tracer

Select the Console cable by clicking on [connections] in the packet Tracer

Click on the PC, then select RS-232 cable.

This time, select the console cable and then click on the router, A small window will appear where you will click on the console.

A blue color cable will indicate a cosole cable which will connect PC to the router.

Now we want to see router CLI, for this purpose click on PC, then select the Desktop tab, and Click on Terminal.

You can increase or decrease its bits transfer speed by clicking in [bits per second], but here I don’t change anything. Just click on OK.

Now a router CLI mode has appeared. First, write the “no” command to enter into router enable mode, then write “enable” to enter into router privilege mode. After Privilege mode, write the command “configure terminal” to enter into router global configuration mode.


