
How to Set Up VLAN Lab for CCNA Students
Introduction
VLAN stands for virtual LAN, which is neither real nor physical but exists logically or logically. When learning how to set up VLAN, it’s important that different virtual LANs exist on the same switch but have different logical structure from one another. The primary purpose of the VLAN is to break a large broadcast domain into smaller logical parts.
What is VLAN?
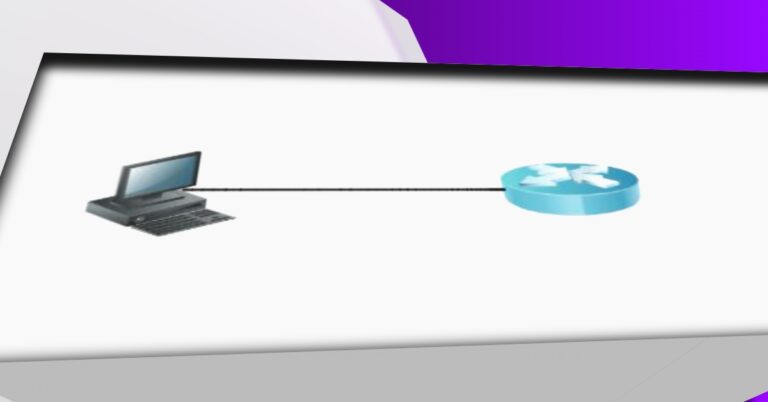
LAN is a group of computers, printers, switches, and APs that connect all the components in a limited geographical area. The purpose of the LAN is to share resources such as files, printers, etc. But, if the LAN has many departments or if the LAN broadcast is larger, it becomes essential to learn how to set up VLAN to separate each department from one another or break the largest broadcast domain into smaller logical parts. This will be done through the use of a virtual LAN.
VlAN is an independent LAN that is completely separated from another VLAN (LAN). Understanding that knowing how to set up VLAN ensures the flow of data from one VLAN to another VLAN will not happen. That’s why it provides security for our network. We can assign a unique name for each virtual LAN, due to which we can easily distinguish every VLAN from other VLANs.
How to Set Up Vlan
Below is the VLAN diagram for our VLAN creation process. If you want to learn how to set up VLAN, then this diagram will teach you how to create two VLANs on Switch1, e.g., VLAN 10 and VLAN 20. After creating VLANs on SW1, we will take another switch, Switch 2, to create the same VLANs, e.g., VLAN10 and VLAN20.

First of all, we will check if there is any VLAN already on SW1 through the use of show vlan commands. If the switch is new, or if its configuration has been removed, then it will show only VLAN 1, which is a default VLAN. Also, there are other VLANs, which are 1002, 1003, 1004, and 1005. We can’t remove it or delete it.

Now we are going to how to set up vlan on the switch. Go to global configuration mode and enter the command vlan followed by a number, which is 1-4094. 1-4094 is a VLAN range on the switch.

We create two VLANs, vlan 10 and VLAN 20. We also gave names to them, which are campus1 for VLAN 10 and campus2 for VLAN 20.
Assign interfaces to the VLANs
The next phase is to assign switch interfaces to the VLANs.

You can assign interfaces to the VLANs through the use of the range command. You will not need to assign a one-by-one interface to each VLAN as above. But you will assign all the interfaces to the VLANs at once as below in the screenshot.

Check vlan through the use of the “show vlan” command.

We are going to drag and drop another switch and will create the same VLANs, i.e., VLAN 10 and VLAN 20, on Switch 2.

Now create VLANs on the Switch2.

Assign the corresponding interfaces to the created VLANs.

While at the last, assign IP addresses to all PCs. The network IP of VLAN 10 is 1.0.0.0/8, while the network IP of VLAN 20 is 2.0.0.0/8. We can’t assign the same IP address range to both of the VLANs because both of the VLANs are different networks.

If we assign the same IP address range to both of the VLANs, then the PC in vlan 10 will not ping the PC in vlan 20.
Both the VLANs are different and have different IP address ranges, so they will not ping each other. Let’s check connectivity from VLAN10’s PC1 to VLAN20’s PC3.

PC in VLAN10 is unable to ping PC in VLAN20.
Now check connectivity within VLAN10 on Switch1.
Also, check connectivity within VLAN 10, but on different switches, e.g., from Switch 1 VLAN 10 PC to Switch 2 VLAN 10 PC.

PC1 in SW1 can ping PC2, but PC1 is unable to ping PC5 on SW2, although both are in VLAN10. The reason is that we didn’t configure the trunk port between SW1 and SW2. The interface between SW1 and SW2 is GigabitEthernet 0/1.
What is a trunk in Vlan?
The trunk is a port that uses a single link to transfer more than one VLAN’s traffic. There is no need for a trunk link if there is only one switch. But, as we have two switches, there is a need for a trunk link between SW1 and SW2.
Use the Gigabit Ethernet 0/1 of both switches to create a trunk link between them.

Check the trunk status through the use of the “show interface trunk” command.

The Gig0/1 is a trunk link. it uses the 802.1q encapsulation method. Also, only VLANs 1, 10, and 20 are allowed to travel on the trunk interface.
We were not allowed before trunking, to ping from PC1 in VLAN 10 on Switch1 to PC5 in VLAN 10 on Switch2. This time we will ping from PC1 to PC5 after trunking. Let’s check:

PC1 has successfully pinged PC5 after the trunk link. But if we ping from the VLAN 10 PC to the VLAN 20 PC, then it will not succeed because both PCs are in different VLANs. Although it is possible through the use of the intervlan routing concept.

Although both the PCs are on the same switch (SW1), they are unable to ping each other. The reason is that both are in different VLANs.
how to remove vlan on Cisco switch
We can remove the VLAN on the switch in two different ways. If you want to delete one-by-one vlan, the
- Remove Single VLAN
- Remove whole VLANs
In the first method, use no follow-up for the word VLAN” and its number, such as:

Similarly, if you want to delete all the VLANs. All the VLANs are stored in the vlan.dat file in the flash. We will delete the vlan.dat file, but how do we know where this file is stored? This file is stored in “Flash” memory but not in nvram. Use the command “show flash”, then you will find it as below in the screenshot.

All the VLANs are stored in the vlan.dat file. If you want to remove the vlan.dat file, then follow the following method to remove the VLAN from the Cisco switch.

All the VLANs are successfully deleted from the switch.


Description:
Order on Machinio
Save €100 on vibromera.eu with promo code VB100!
Details of the Balanset-1A
The Balanset-1A is a highly portable, dual-channel device tailored for rotor balancing and vibration analysis. It’s ideally suited for balancing rotors like crushers, fans, mulchers, choppers, shafts, centrifuges, turbines, and other rotating machines.
Included with the Device
The Balanset-1A comes with:
A measurement block with USB interface.
Two vibration transducers.
Optical laser tachometer with magnetic mount.
Software (Note: Laptop not included, available as an additional order).
Electronic balance scales.
Plastic carrying case.
Price:
Full kit: €2251
OEM kit: €1978
Order on Machinio
Save €100 on vibromera.eu with promo code VB100!
Instagram: https://www.instagram.com/vibromera_ou/
Youtube: https://www.youtube.com/@vibromera
Website: vibromera.eu
most bet http://www.mostbet6039.ru .