DNS Server Setup Made Easy: Tutorial for Beginners
Introduction
DNS stands for domain name system. It provides name services. Name services provide name resolution. Name resolution is the conversion of IP to name and name to IP. So, the server which works as a name resolver is called a DNS server. If you know the name of a website, then there is no need to remember its IP address. When you write the URL of the website in the address bar, there is no need to write its IP address also.
Suppose a website is hosted on the web server, then the administrator maps the name of a website with the IP address in the DNS server. When you query for that website through its name, then the DNS server will resolve that query in the background. So, the user will connect to the web server. This process is transparent. If we know the IP address of any device or website, then the DNS helps us to find its name and vice versa.
How DNS Server works?
DNS is just like a phone book. When we store the phone numbers with the respective names of our friends. So, we don’t need to remember each number in that phone book. Whenever we want to call one of our friends, then we will search for his name and then call him. In the background, our mobile phone translates that name to our friend’s number. So our call was established with our friend’s number. In the same way, DNS translates computer names with their respective IP address. At the last, we make connectivity with our web server or other device on the internet.
It uses UDP port number 53. We use DNS on the internet or intranet. Computer networks don’t work without DNS, in today’s age.
Structure of Domain Name System
The structure of the DNS server is hierarchical. It is just like an upside-down tree. The DNS structure starts from its root. A dot or root domain represents it. The root domain is distributed across the cluster of the servers on the internet. There are many first-level domains to resolve names. They are .org, .edu, .com, .arpa, .in, .us etc. These domains are called top-level domains.

www.cisco.com is FQDN. FQDN is the full name of the website. FQDN is a combination of two words; domain name and host name. www is the name of the server on which web services are installed.
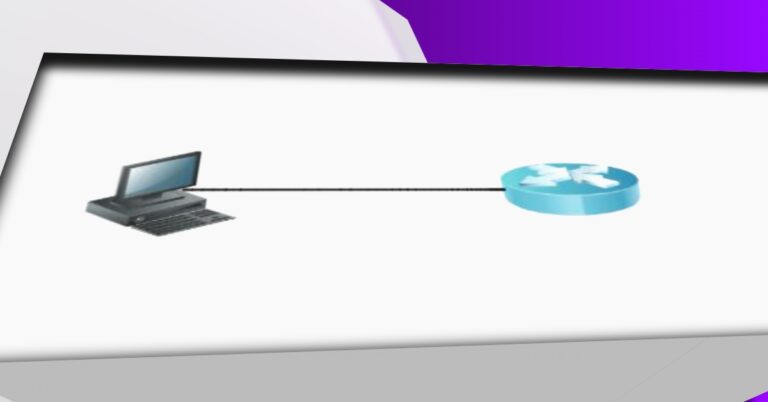
Lab topology for DNS server in Packet Tracer
Here we will use Packet Tracer for our lab topology. It is straightforward to configure DNS in the Packet Tracer. It is a basic lab for CCNA users. Routers separate our two networks.

Click on the server and then Click on the services tab. When the services tab appears, then click on DNS. In the DNS section, first, turn it On. Write www.marwat.com in the name section. In the address bar, write the IP address of the DNS server. At the last click on Add button to save it.

Assign the IP address to the PC11 as below in the screenshot. Assign the DNS IP address to the PC.

In the same way, assign the IP address to the PC1. Remember, write the DNS Server’s IP address 192.168.2.10.

Now browse the www.marwat.com, in the web browsers of PC11. Next, click on PC11 and then in the Desktop section, Click on web browser.

We tested in the same LAN as the DNS Server is located. Now, check it in the PC1 browsers.