How to Configure SSH In a Cisco Router Step-by-Step
SSH stands for secure shell. SSH is a cryptographic protocol which encrypts networking data. When data is flowing in an unencrypted network, then a hacker can see the data, which later he/she can misuse that data. So, when SSH encrypts that data, then a middleman can not see the information. Moreover, SSH uses a client-server architecture network. We configure its server side on networking devices, while we configure the client side on end devices just as computers, laptops, or any other endpoint devices. This way, we can make a secure connection from the client to the server.
There are two versions of SSH
- SSH version 1 b) SSH version 2
SSH uses port number 22 for its communication. To set up SSH configuration, it’s important to make sure that the IP address and its subnet mask have been set up correctly. To configure SSH on the client, there should be SSH client software installed like putty on your laptop or computer, and it should establish its connectivity with Cisco devices like router, and switch.
We must ensure Proper IP address configuration on networking devices like Cisco Routers, Switches, Firewalls, PCs, etc.
We will use the below Lab for the SSH.

Assign hostname R1 to the router and IP address 192.168.31.1 with subnet mask 255.255.255.0 to the Fast Ethernet 0/0.

Configure the IP address of a client

Configure SSH configuration on a router.

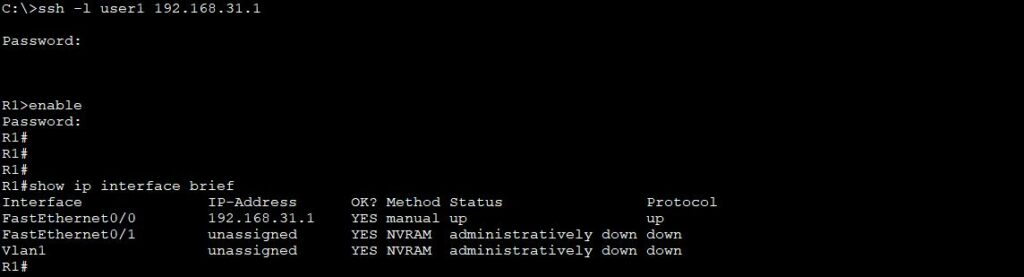
Open CMD of a PC.

Now SSH a router from the PC by typing > ssh –l user1 192.168.31.1